Last Updated on December 6, 2023 by Gaga
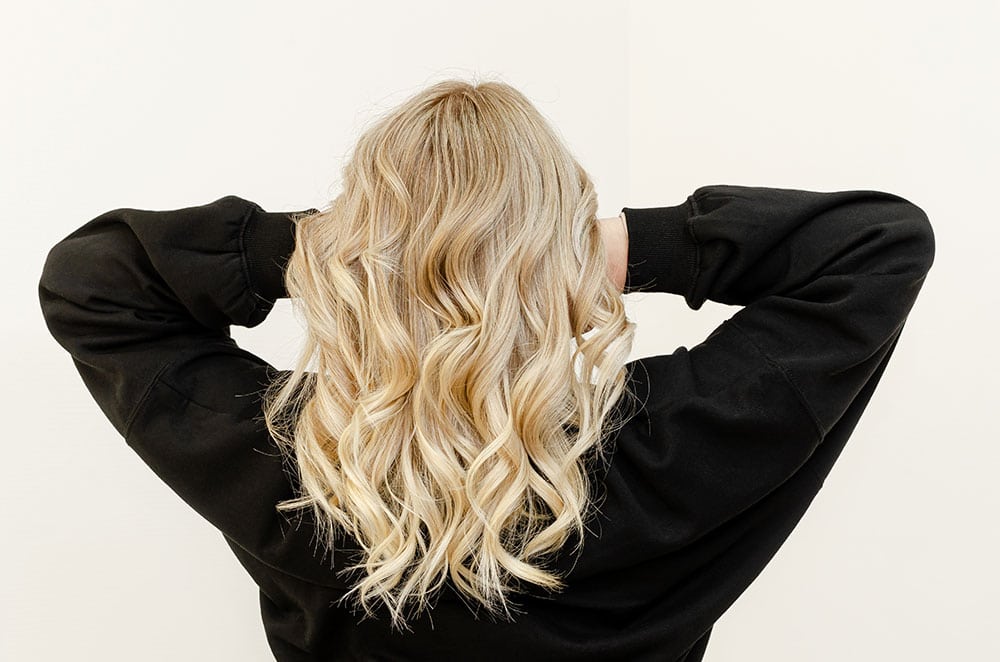
Do you want to get your natural hair color back after a hair-dying mishap, or do you just miss the color you used to have before dying it? We’ve got a step-by-step guide for you to do just that.
To bleach bath hair to remove color, mix shampoo, bleach powder, and developer together in a plastic bowl. Then, wet the hair that the mixture will be applied to. Make sure to protect clothing or wear clothing that can be bleached. Apply the mixture to the hair and wait. Then, rinse out the mixture.
Continue reading to learn more about how to do a bleach bath on your hair at home.
Step 1: Gather your Materials

To complete this process, you will need:
- Disposable plastic/rubber gloves
- Hydrogen peroxide developer (10 volume for gentle lift, 30 volume for intense lightening)
- Bleach powder
- Clarifying shampoo
- Mixing bowl
- Moisturizing conditioner
- Stirring stick/metal spoon
- Wide-tooth comb and thin-tooth comb
- Shower cap (optional)
- Hair tint brush (optional)
Step 2: Understand Your Hair Type and Hair Needs
In order to select the correct developer volume, you’ll need to know how much of the hair dye you want to be removed. If you just want your color to be a bit lighter or your hair color is already faded, you just need a 10 or 20-volume developer.
We also recommend using 10 volume developer if this is your first time bleach bathing, as you can always repeat the process as necessary to remove more color. If your hair dye color is more intense and you want to remove more color in one treatment, we recommend using 20 volume rather than 30-volume developer.
Knowing how many colors you want to lift from your hair will also help you determine how long to leave the solution in your hair. You’ll still want to check on your hair periodically, but the longer you leave it in, the more color it will remove.

The health of your hair will also determine how long you can leave the bleach solution in your hair and how often you’ll need to repeat the process.
Healthier hair that holds in moisture will be able to handle the mixture for longer periods of time, whereas unhealthy, damaged, or very dry hair will need to have this bleach mixture rinsed out much sooner. You may need to do shorter time increments and repeat the process several times (with days in between) to remove the color from more sensitive and damaged hair.
Step 3: Protect Your Clothing and Skin
Because bleach bathing involves bleach, you’ll want to be careful with the process and take measures to protect your clothing and skin.
If you’re going to complete this process and rinse your hair out over the sink, we recommend putting on clothes that you won’t mind getting bleached or wrapping an old towel around your neck to protect your clothes. You can also put on a raincoat to protect your clothes and the skin around your neck and shoulders.
When handling bleach, always put on plastic or rubber gloves to protect the skin on your hands, which will have direct contact with the bleach solution.
Step 4: Mix Bleach Powder and Developer
Following the safety measures and instructions on both the bleach powder and the developer packaging, mix them together in your mixing bowl using your stirring stick or metal spoon.
Generally, this is a 1:2 ratio with 1 part bleach and two parts developer. Or, for more precise measurement, you can use about 4 ounces of developer for every 2 ounces of bleach powder.
Start with this amount, then double the mixture once or twice until you get a good amount to saturate all of your hair, depending on how much hair you have. The mixture should have a thick, yogurt-like consistency.
Step 5: Add Shampoo
Add a dollop of clarifying shampoo, generally the same amount you would normally use when washing your hair in the shower, to the mixture. If you’re unsure how much to use, measure out two teaspoons of shampoo. Stir the mixture until it is fully combined.
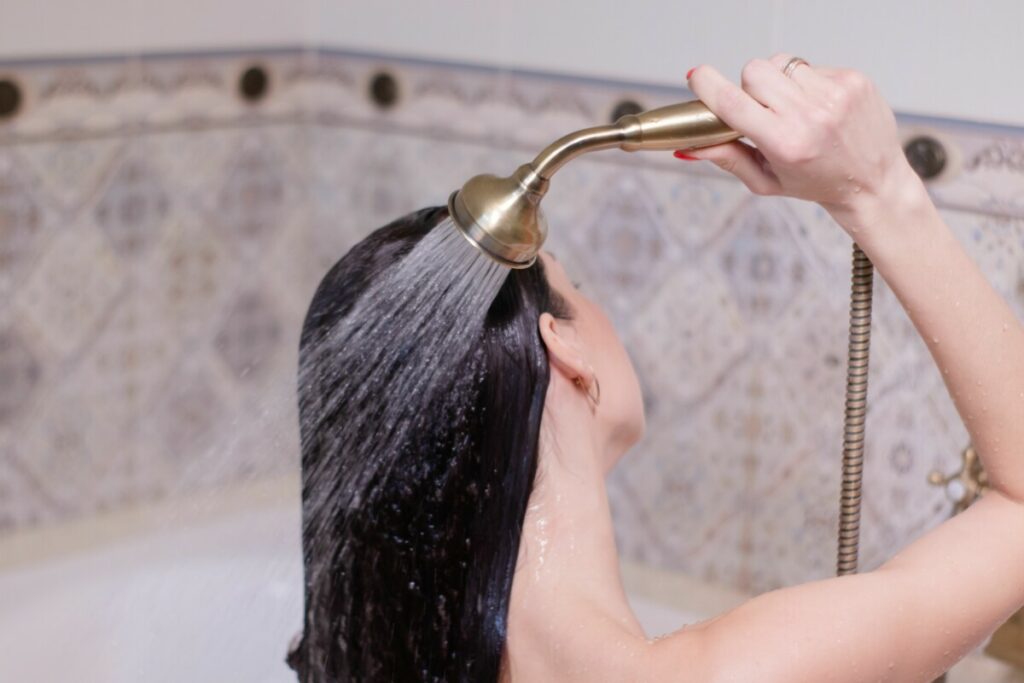
Step 6: Wet your Hair
Next, you’ll want to wet your hair under the sink or shower. Dry your hair so that it is moist and damp but not too dry or dripping with water.
Step 7: Apply the Mixture to Your Hair

Using your wide tooth comb, divide your hair into one section at the front, top of your head, and apply the mixture directly to your hair using your hand or a hair tint brush. Start from the end and work your way up the section of hair. Rub the mixture into the hair using your gloved hand.
Step 8: Comb through Hair as You Go
Once the hair is saturated with the mixture, comb through the section of hair using your wide-tooth comb. Some of the mixtures will come off with the comb; you can put this excess mixture back into the mixing bowl.
You can leave your hair hanging down or pin it up against your head to get it out of the way while you work on the next section. Work through one section at a time until your entire head of hair is saturated with the solution.
Step 9: Use a Shower Cap and Set Your Timer
If you want to get your hair out of the way, gather your hair together by twisting it into a hair bun (if it’s not already pinned up) and wrap it in a shower cap. Take off your gloves and set a timer on your phone for 4 minutes to remind you to check your hair every 4 minutes.
Depending on how much hair color you want to be removed and how healthy your hair is, the mixture can stay on your hair for between 4 and 16 minutes.
Step 10: Check your Hair Periodically
Every 4 minutes, you’ll want to check on your hair to see how well the solution removed the color and to check if it’s ready to be rinsed. To check your hair, put your gloves on, remove your shower cap and hairpin (if applicable), and use your thin-toothed comb to scrape away the solution from a small portion of that hair section.
If it looks like it needs more time, put the solution back onto the hair and pin it back up, or put it back under your shower cap. Set your time for four more minutes and repeat when the timer goes off.
Step 11: Rinse Out the Bleach
If your hair is ready and the desired amount of color has been removed (do not leave the mixture in your hair for longer than 18 minutes), you can rinse it out. Remove your shower cap and pins, then rinse out all the bleach in the sink or in the shower, being careful not to let the mixture get into your eyes.
Try to rinse it out as quickly as possible to avoid prolonged contact of bleach with your skin, and wear your gloves while rinsing. Do not touch the bleach without wearing gloves.
Step 12: Use Hair Conditioner
Once the bleach is fully rinsed out, condition your hair using a moisturizing hair conditioner or use coconut oil to get the hair moisture that was stripped away by the bleach back.

Gaga is a blogger and founder of the Softer Hair website. She often says that insomnia is to blame for her first blogging attempts. Being the night owl, she hated the morning alarm. She left her office job and returned to what she loved most - writing.