We all love our hair and want to be unique with it. Hair coloring is a popular way to express yourself and be different from those around you. After you have had your fun and decide to return to a natural state, removing hair color can be exciting but challenging. Challenging in that there are many products that will get the job done, but which ones are considered the best?
In this article, we will explore a plethora of color remover products for hair and list each pro and con to help one make an informed decision. Our goal is not to overwhelm you with products but to give you enough for further exploration. Let’s now dive into this and discover what are some of the best color remover products.
1. Color Oops Extra Conditioning
The first on the list is the Color Oops Extra Conditioning. This is a great product to start when it comes to removing any color in the hair. This product does not require one to purchase any other materials or equipment to get started. This is an easy-to-use product, not to mention that the entire process only takes about 20 minutes out of your day. The simplicity of steps and resources required is desirable for most, especially those who are in a rush or just too tired after work or school.

The biggest con individuals who have used Color Oops Extra Conditioner have discovered that their hair is often left feeling dry despite the promise of extra conditioning. After using this product, an individual must wash their hair extensively, which is extremely time-consuming and is another aspect that users have strongly disliked. (Source)
2. One N Only Colorfix Hair Color Remover Kit
One N Only Colorfix Hair Color Remover is a product that is outstanding at removing most colors from the hair. This permanent remover solution’s accessibility to be tailored to any hair color and type for color removal is what most are attracted to in this product. Another positive is that with its argan oil ingredient, not only does it support the color removal process, but it promotes soft and healthy hair and scalp.
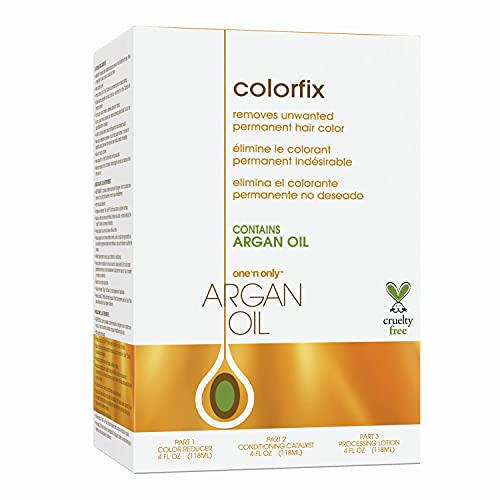
- Colorfix Hair Dye Remover; Professional Color Stripper For Dyed Hair; Contains Argan Oil; Remove Unwanted Permanent Hair Color
- Permanent Hair Color Removal; Can Also Remove Semi Permanent Hair Dye; Hair Color Corrector Remove Dark And Light Hair Color; Precise Control Formula Allows For Color Correction In Specific Areas
- No Ammonia Or Bleach; Remove Any Level Of Color Without Affecting Natural Hair Pigment; Colorless Hair Color Remover; Cruelty Free
Despite the pros previously listed about this color remover, the biggest con users of this product have is the intense smell that accompanies using this color remover. Many users have had hit-or-miss experiences on whether or not the color is able to be stripped from their hair.
3. Color X-Change Phase-Out Gentle Dye Decolorizer
The Color X-Change product is similar to the Color Oops product in that it is extremely easy to use. Mix this product with water and lather it on the hair before proceeding with regular wash. You also need to make sure that enough time has passed before finally rinsing out the decolorizer, or else it won’t take effect as well. Another positive is that, surprisingly, it does not contain any or much bleach. Bleach is great for color removals, but somehow, this one works without it.
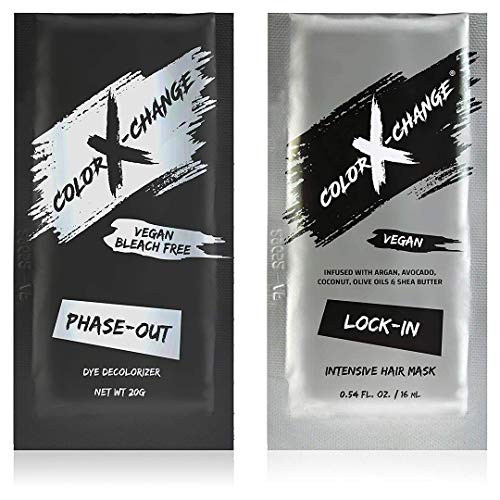
- PPD, ammonia, peroxide and paraben free
- Contains no fragrance, peroxide, ethyl alcohol or sulfates
- Vegan, gluten free, cruelty free; Made in the USA
A con against this product is that multiple uses must be had before significant effects take hold. One and done will not cut it, so make sure you plan ahead well to ensure maximum use and benefits from this product. With the need for multiple uses, before the color is able to lift properly, it can cause individuals to be stuck with unwanted shades of color in their hair before it is fully removed.

4. L’Oreal Effasol Color Remover
The L’Oreal Effasol Color Remover, its quality, and its effectiveness in removing unwanted hair color are outstanding. Every tint of color that is present will be removed from view. Many individuals love using this product for the price; instead of being extremely expensive like many other color removers, this is affordable, which gives many individuals the chance to change their hair.

- Leaves hair beautifully conditioned and ready for recoloring, it removes color build-up and muddy-looking tints.
- Does not restore hair to natural color, it removes the tint.
- Leaves hair in lightened state and can be used with water or developer.
The major con of this product, however, is that though it does extremely well at removing any color that you choose to remove, it does not fully bring your natural hair color back. It may come back to an extent, but it would result in a slight decolorization. It only focuses on removing the tint. Another drawback is that it is highly recommended for professional use only, so if you know how to use this effectively, go right on ahead. If not, try something easier and more suitable to your skill level.
5. Powertools CBC Color Balance Corrector
The Powertools CBC Color Balance Corrector is a simple solution that can be added to any shampoo, bleach, and color mixture for easy-to-use benefits. Like Color Oops’ again, it is quick and easy to use. About 5 to 10 minutes is all you need to complete the process from start to finish. As the name suggests, this product is a color balancer, meaning that its goal is not to remove colors but to adjust and make them into the desired color through extra effort.

Users of this product discovered its biggest con is that it is not effective on all shades of color and is only effective on light shades of color. In addition to this, when using power tools, CBC Color Balance Corrector often dries out an individual’s hair, which then causes individuals to have to put in extra effort to re-moisturize their hair.
6. Sephora Collection Heat Activated Color Fader
This product is a special one as it is “heat activated,” meaning that this fader will primarily work when it is heated. This sulfate-free solution will help get rid of any color that may or may not have turned out the way you want. It is especially excellent in taming semi-permanent colors.
The number one con mentioned by individuals who have used this product to strip color from their hair is the smell that accompanies this process. It has a rather intense smell and can be extremely overwhelming for sensitive noses
7. Malibu C Color Correction
If you are looking for something to help get rid of old and/or undesired hair in favor of a new one, the Malibu C Color Correction will help fix the issue of removing any hair color. With these single packets, they are simple and quick to use, preventing any struggles in figuring out how it works. It isn’t complicated. A simple mixture of the packet with water and application on the hair is fast and within 5 minutes. The results will come around 24 hours after the process to see any results.

- Favorite pH Balanced Anti-Residue Shampoo - This detox shampoo for product build up is a Malibu C cult classic, as it's one of a kind pH balanced shampoo that effectively removes resin buildup from...
- Sulfate-Free Key Wellness Ingredients - This build up removing shampoo is infused with magnesium & limonene; both vegan antioxidant ingredients that help regulate hair follicle production while...
- Color Safe Scalp Buildup Remover - What is better for your hair than a cleansing sulfate-free shampoo? For it to be COLOR-SAFE! Yes- this product build up shampoo works perfectly on color treated &...
A con to Malibu C Color Correction is that it may or may not fully remove the hair color, depending on the strength of the coloration and hair type.
8. Good Dye Young Semi-Permanent Hair Color Fader
Returning to a Sephora brand, the Good Dye collect-on provides an affordable and easy-to-use method of helping get rid of hair color if need be. The primary ingredient that is doing most of the work is sodium Cetearyl sulfate. In other words, this does contain sulfate, so be sure to know whether you are allergic. It also can act as a conditioner with its cream application.
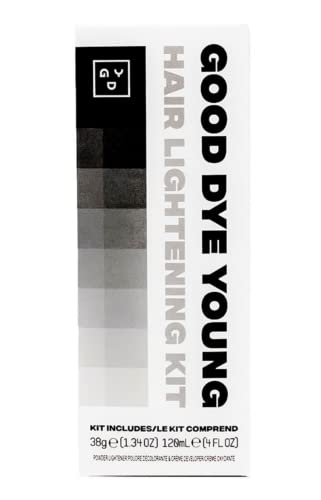
- Hair Powder Bleach and Developer: Our hair lightening kit is exactly what you need to bleach hair to that perfect white canvas so it’s ready to show off some vibrant color. Our hair bleach mixing...
- Prep Your Hair: Our bleach powder for hair preps the hair for our ultra-vibrant semi-permanent dyes. The 25-volume hair dye developer bleach cream is powerful enough to lift the hair without...
- Doesn’t Damage Your Hair: The coconut oil helps to condition hair during the lighting process. The soy protein of this lightening powder for hair works to minimize damage while coconut oil adds back...
Users have mentioned the biggest con of this product is that it will not fully remove any hair color but heavily fade it. You will have to use this as a type of supplement to other products that are dedicated to removing the hair color to its fullest.
9. Scruples Color Delete Permanent Hair Color
Starting with the ingredients, the Scruples Color Permanent contains avocado oil, bamboo extract, and a protective barrier for maximum effectiveness. This product’s purpose is to be a heavy-duty remover compared to the ones we have listed so far. What we mean by this is that it will work with the annoyance of any color that has not been removed. Though a desirable product for those looking for a reliable hair color remover at its best, its effectiveness is ultimately determined by an added developer.

- Scruples color removal
- Not tested on animals
- Made in the United States
The biggest con to using Scruples Color Delete Permanent Hair Color is that it requires an individual to purchase a developer to reach the maximum potential of the color remover. Purchasing both the color remover and the developer can make stripping unwanted colors expensive.
10. Roux Beauty Clean Touch Stain Remover
Roux Beauty Clean Touch Stain Remover is used to remove any unwanted stains on such hair or skin. This is a nice and convenient way to touch up on your current hair color and to be creative with what you have.
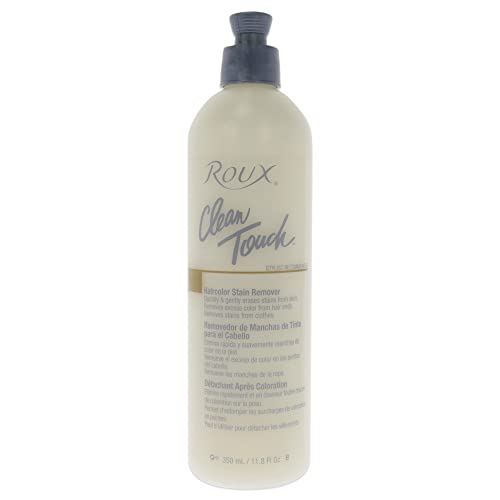
- Removes excess color from hair ends
- Assists in removing stains from clothes
- Quickly erases tint from skin
The biggest con that people have about this product is the fact that it doesn’t fully remove the color from hair. Many people attempt to use it to strip all the color from their hair, which results in them using a lot of products without getting the results they want.
11. Joico’s Hair Color Intensity
The primary purpose of the Joico Hair Color Intensity is to help remove any direct dyes. Direct dyes are bright hair colors that do not require any other method for removal, meaning that this Joico product is excellent for removing these direct dyes without having to sacrifice extra time and effort for this process to be successful.
You may try to use this product on non-direct dyes, but be prepared for disappointment as these colors are naturally strong in their darker shades, and trying to remove them with this product will be all for nothing. Direct dyes are, again, any bright colors such as rainbow streaks or a solid bright color like cherry red.
The biggest issue individuals have with Joico’s Hair Color Intensity is the smell that accompanies the color-removal process. It is an extremely intense smell, which can make it difficult to let it set for the needed time. (Source)
12. Colour B4 – Hair Colour Remover Extra Strength
This product is one to be careful with regarding the smell. It is perfect for those who need to finally remove the color from hair that has been around for years. You may not think that leaving a hair color in for years will be easy to remove, and you’d be right. With the Colour B4, it will do the job surprisingly well, keeping the hair safe and soft, without damaging the hair or the scalp.

The smell is going to be the major con of this product. While it works to remove color, the intense scent of the color remover will linger in an individual’s hair for a few washes.
13. Neutrogena Anti-Residue Clarifying Shampoo
Though not immediate, with continued use, the Neutrogena Anti-Residue will significantly fade away a color from hair. It isn’t as intensive as the ones we have listed, but it will get the job done if you are in no hurry. Other than this, it will continue to keep the hair from drying out and enhance its softness and shine if you are patient with the product and use it as instructed.
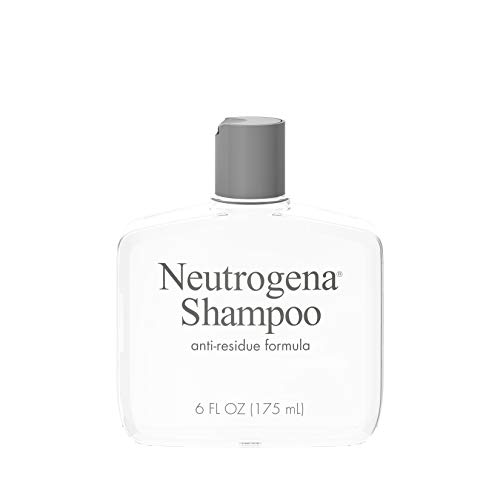
- 6-fluid ounce bottle of Neutrogena anti-residue clarifying shampoo to help remove up to 90% of heavy, dulling residue caused by shampoos, conditioners and styling products
- This non-irritating clarifying shampoo gently cleanses your hair and helps boost volume by instantly rinsing away build-up
- Use our anti-residue shampoo only once a week to see your favorite daily shampoo work even better, and help stop bad hair days
While this is a product enjoyed by many, the biggest con that accompanies using this clarifying shampoo is the fact that it takes many different washes to fade the color from the hair. This product often takes more time than many individuals are willing to give.
14. Biolage Normalizing Clean Reset Shampoo
Lastly, the Biolage Normalizing Clean Reset Shampoo is perhaps one of the most praised types of shampoo and hair color remover for its overall effectiveness in removing hair color, untangling pesky hairs, and build-up from products used over time. Both the final hair quality and smell are acceptable and won’t deter anyone from the consistent use of this product. One more positive attribute of this product is that it is effective for a lot of hair types.

- Cleanses hair without drying it out
- Removes buildup and impurities from fine, damaged, coarse, curly, wavy, and straight hair
- Paraben-free formula is suitable for color-treated and natural hair
The biggest con that accompanies the use of this product is that it does not work for every single hair type. This is something that has frustrated many individuals because Biolage Normalizing Clean Reset Shampoo is pricey, which can cause many individuals to feel that they have wasted their money on a color remover that does not work.